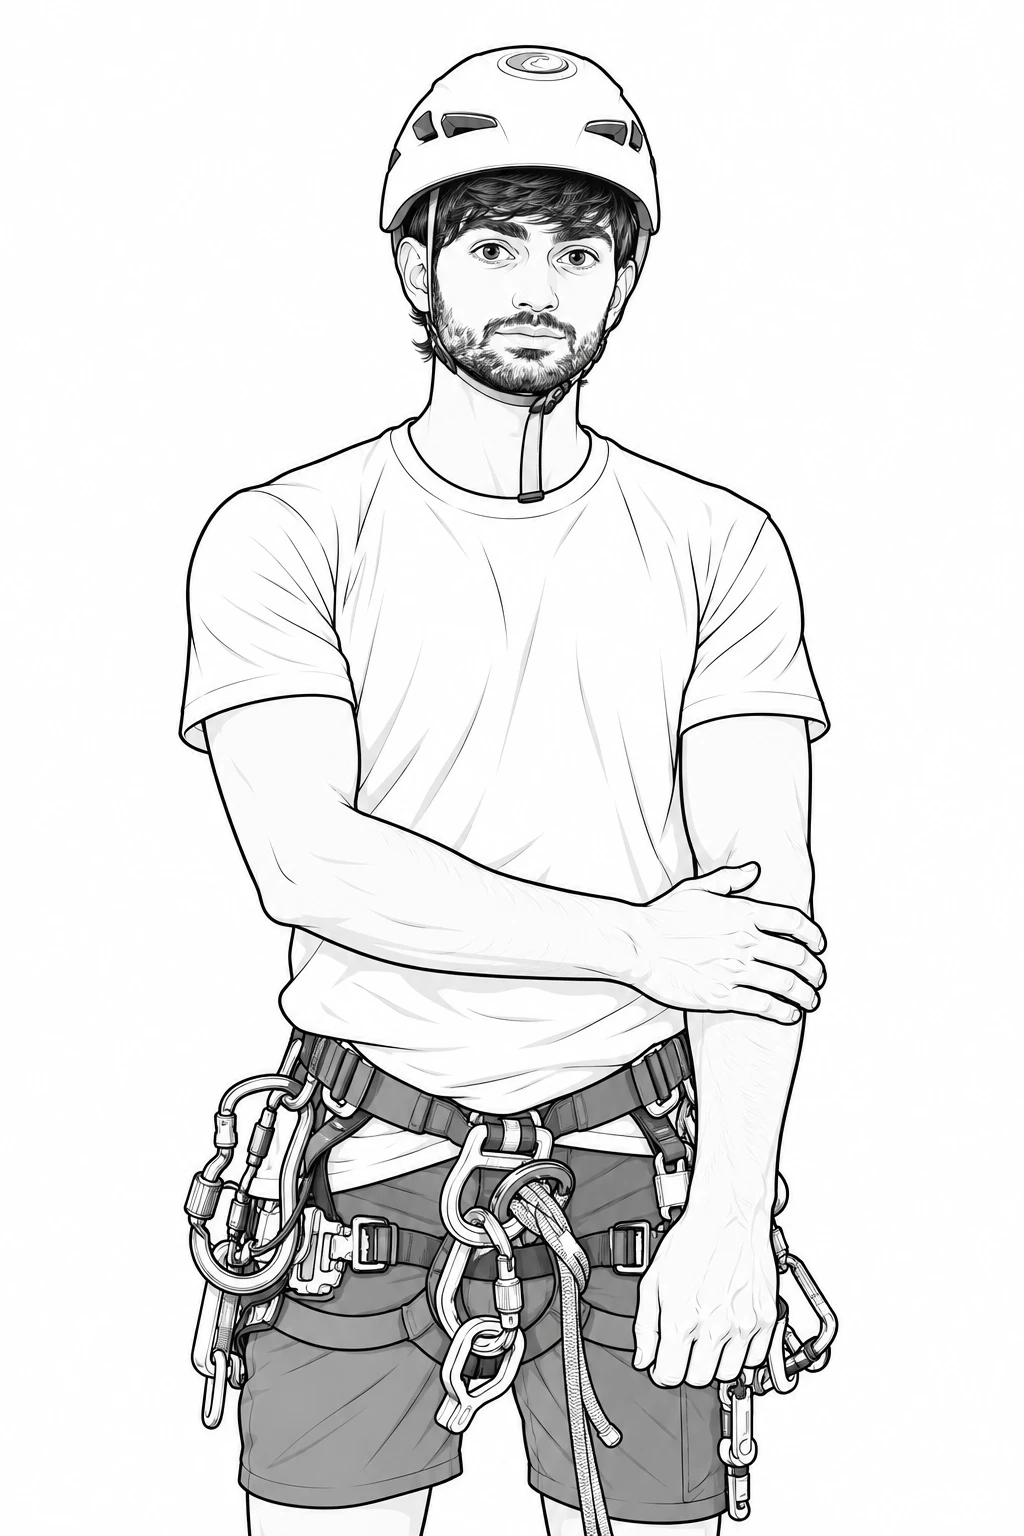
Slippery
One hand slides back and forth over the other forearm.
This bit is slippery. Pay attention.
Before your tour
This is the briefing we give at the start of every tour. Read it once at home and it'll already sound familiar when you're standing at the top of the canyon.
The part of the canyon that needs the most attention is the walking. On a rope you're at the safest moment of the tour: there's a guide at the top and a guide at the bottom, and between them they can lower you, hold you or add an extra safety line.
Walking, you have more freedom and more responsibility. We're not holding your hand, so keep a good pace, but always a safe one.
The terrain is uneven and the rock is slippery. That's the whole reason for what follows.
Between the waterfalls, shouting doesn't work, so we use hand signs. Learn these four.
One hand slides back and forth over the other forearm.
This bit is slippery. Pay attention.
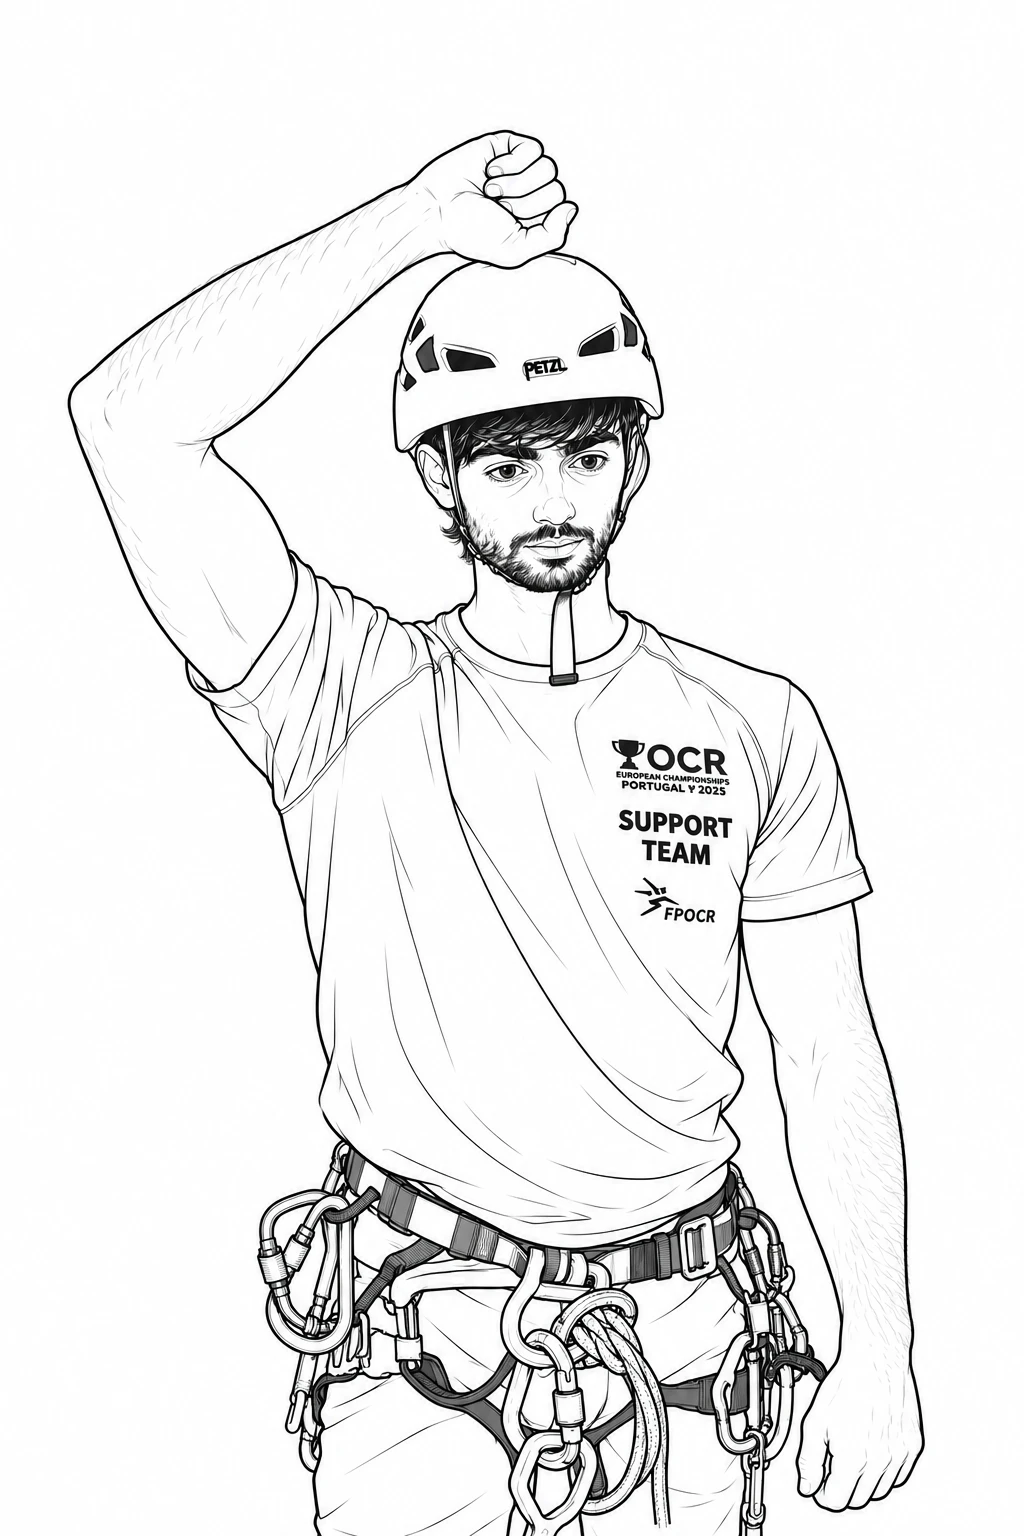
Tap a closed fist on top of your helmet.
If a guide points at you and does it, they're asking if you're OK. Answer with the same sign, or show us you're not.
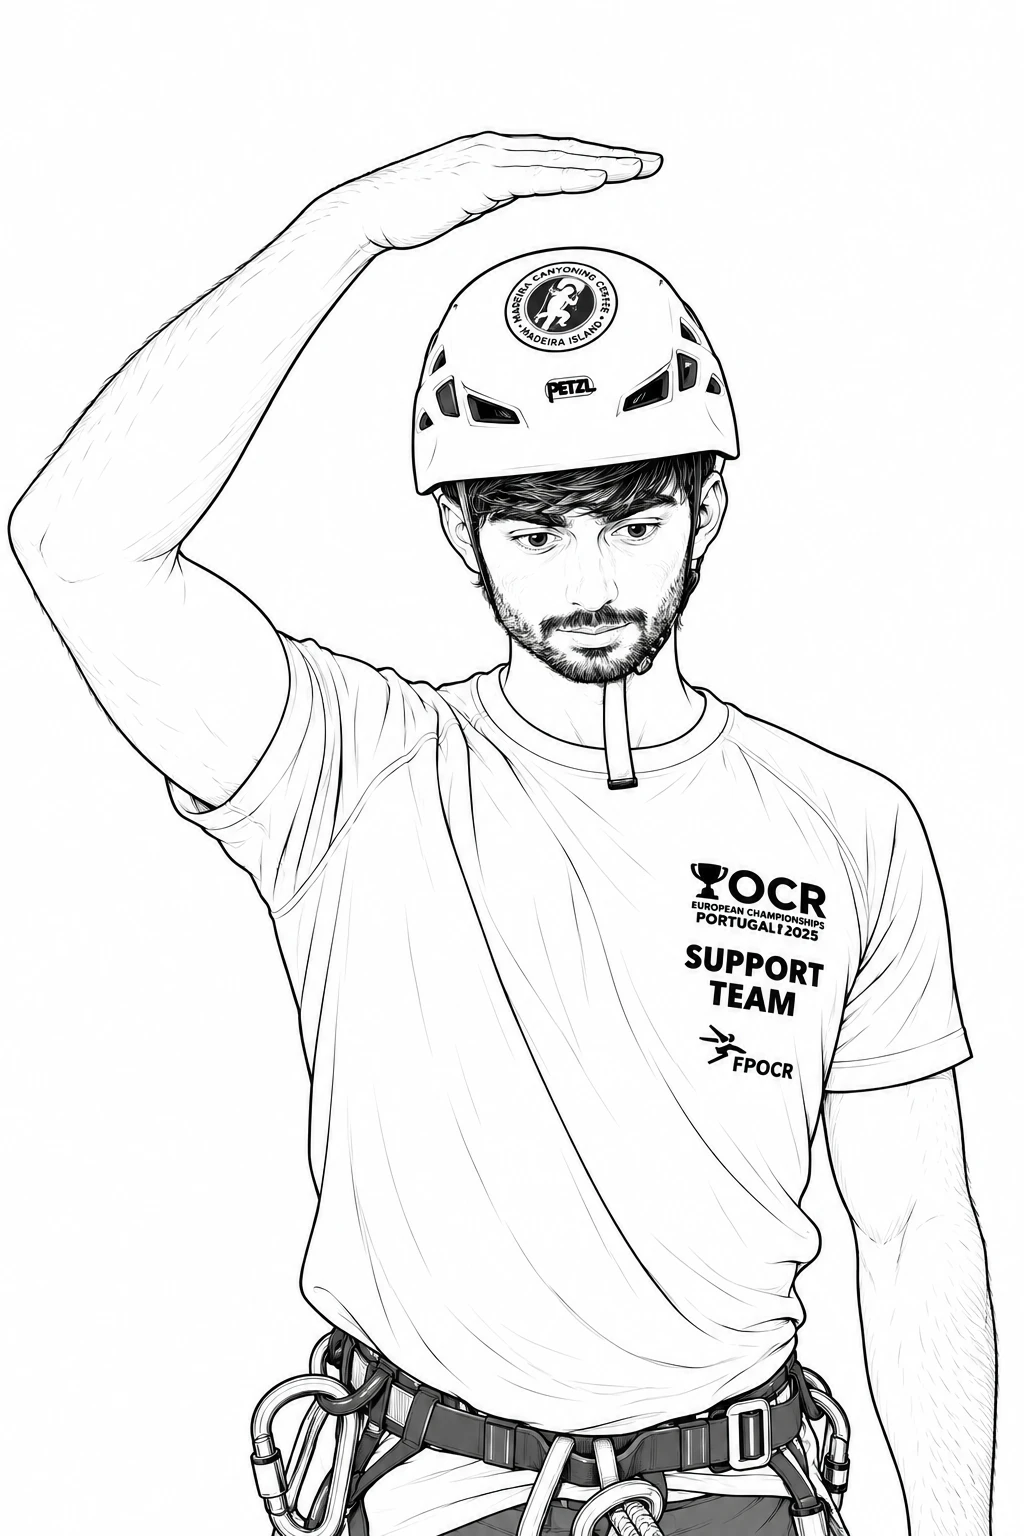
Open hands scraping back and forth on top of your helmet.
Nerves, a foot stuck, caught in the vines, an injury: any reason counts. Stay calm and don't scream. Lots of people scream when they're having fun, so screaming tells us nothing. Do the sign and we'll come and sort it.
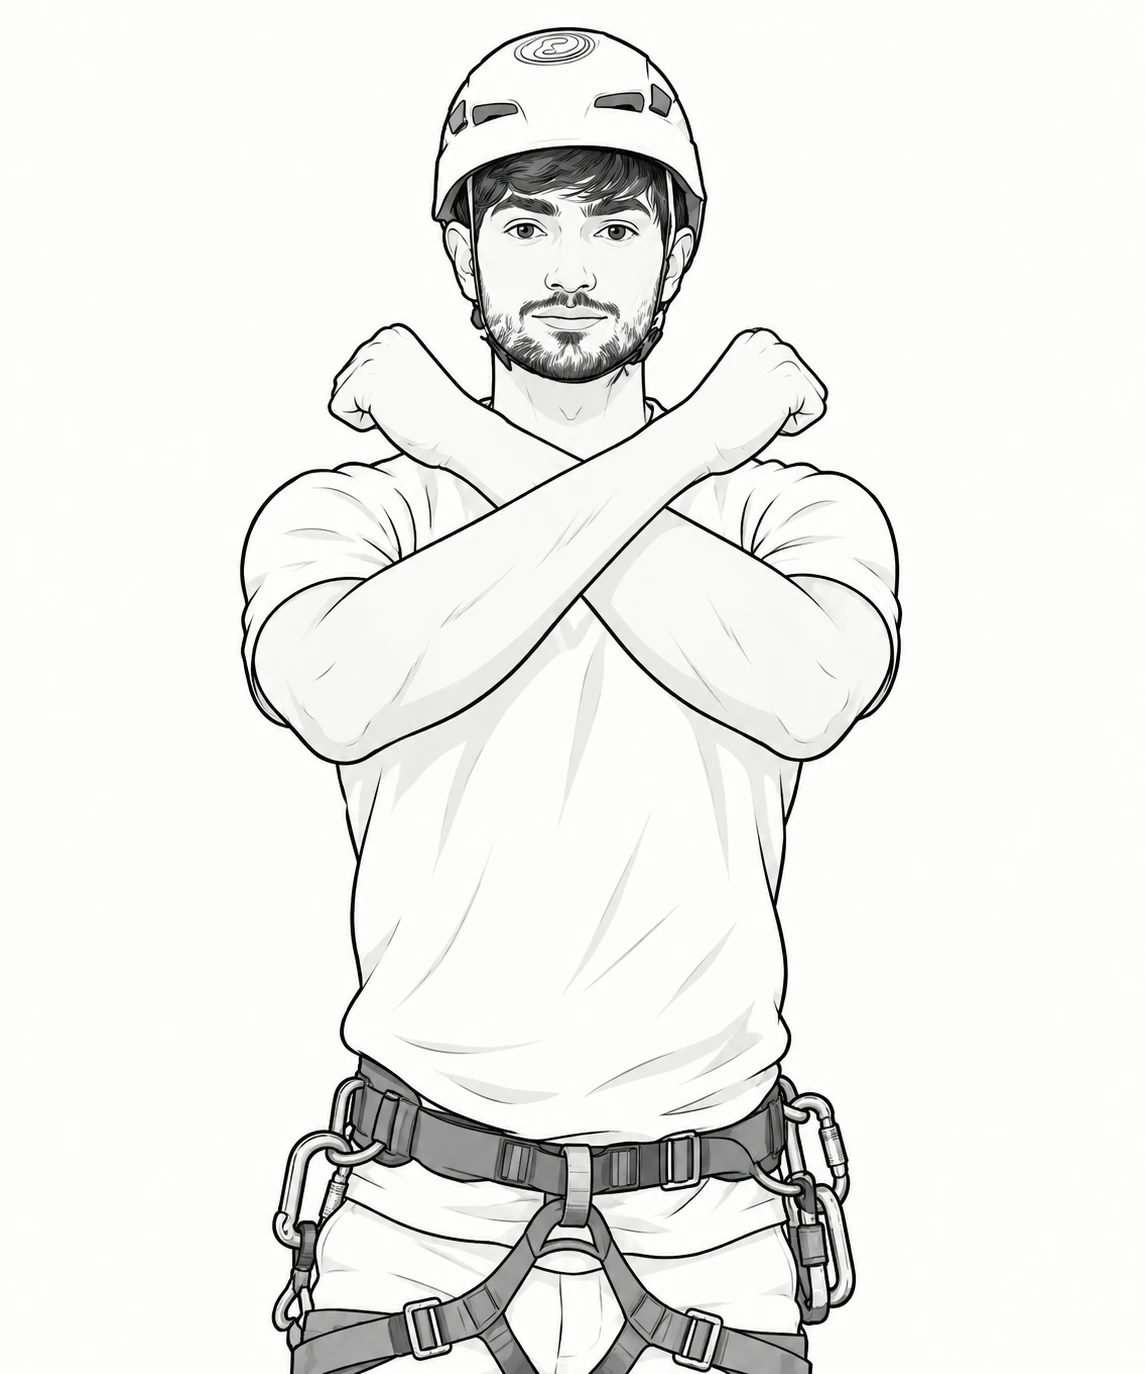
Arms crossed in an X.
Stop where you are and don't do anything else.
We work as a team: when a sign is given, pass it back until the last person has seen it. If we do the slippery sign, everyone does the slippery sign.
Most of the day is spent walking down the riverbed. First, how we move on the steep bits. Then the rules.
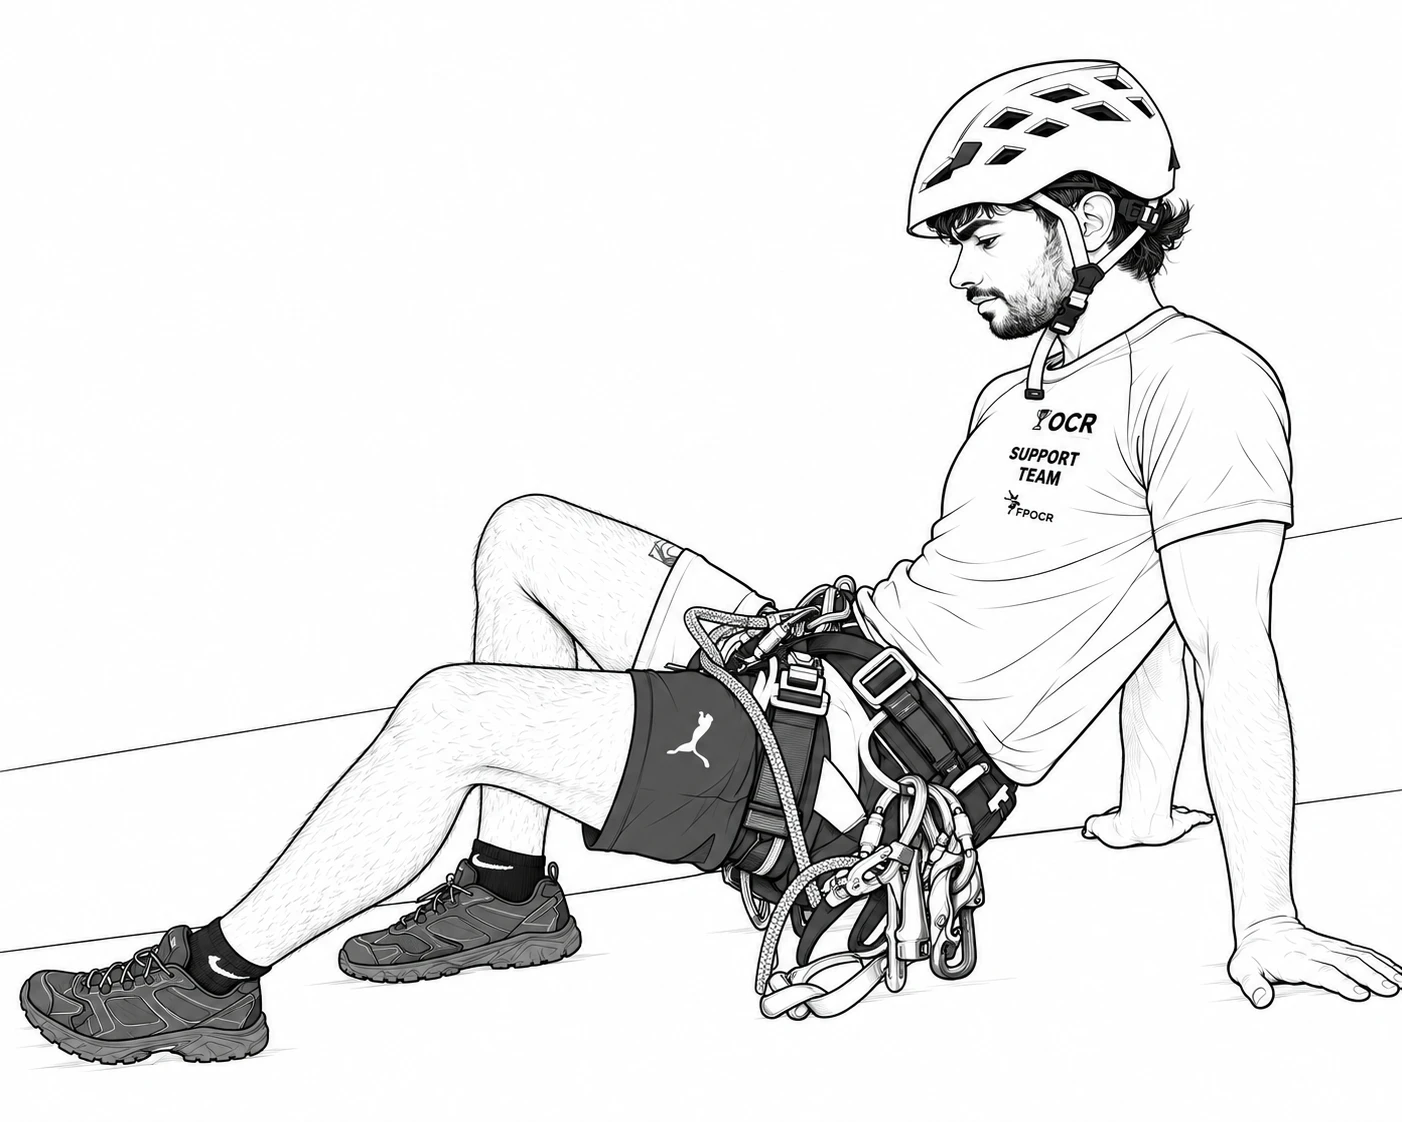
Lower your centre of gravity and put your hands on the rock. It's the safest stance we have and you'll use it a lot on the technical or slippery parts.
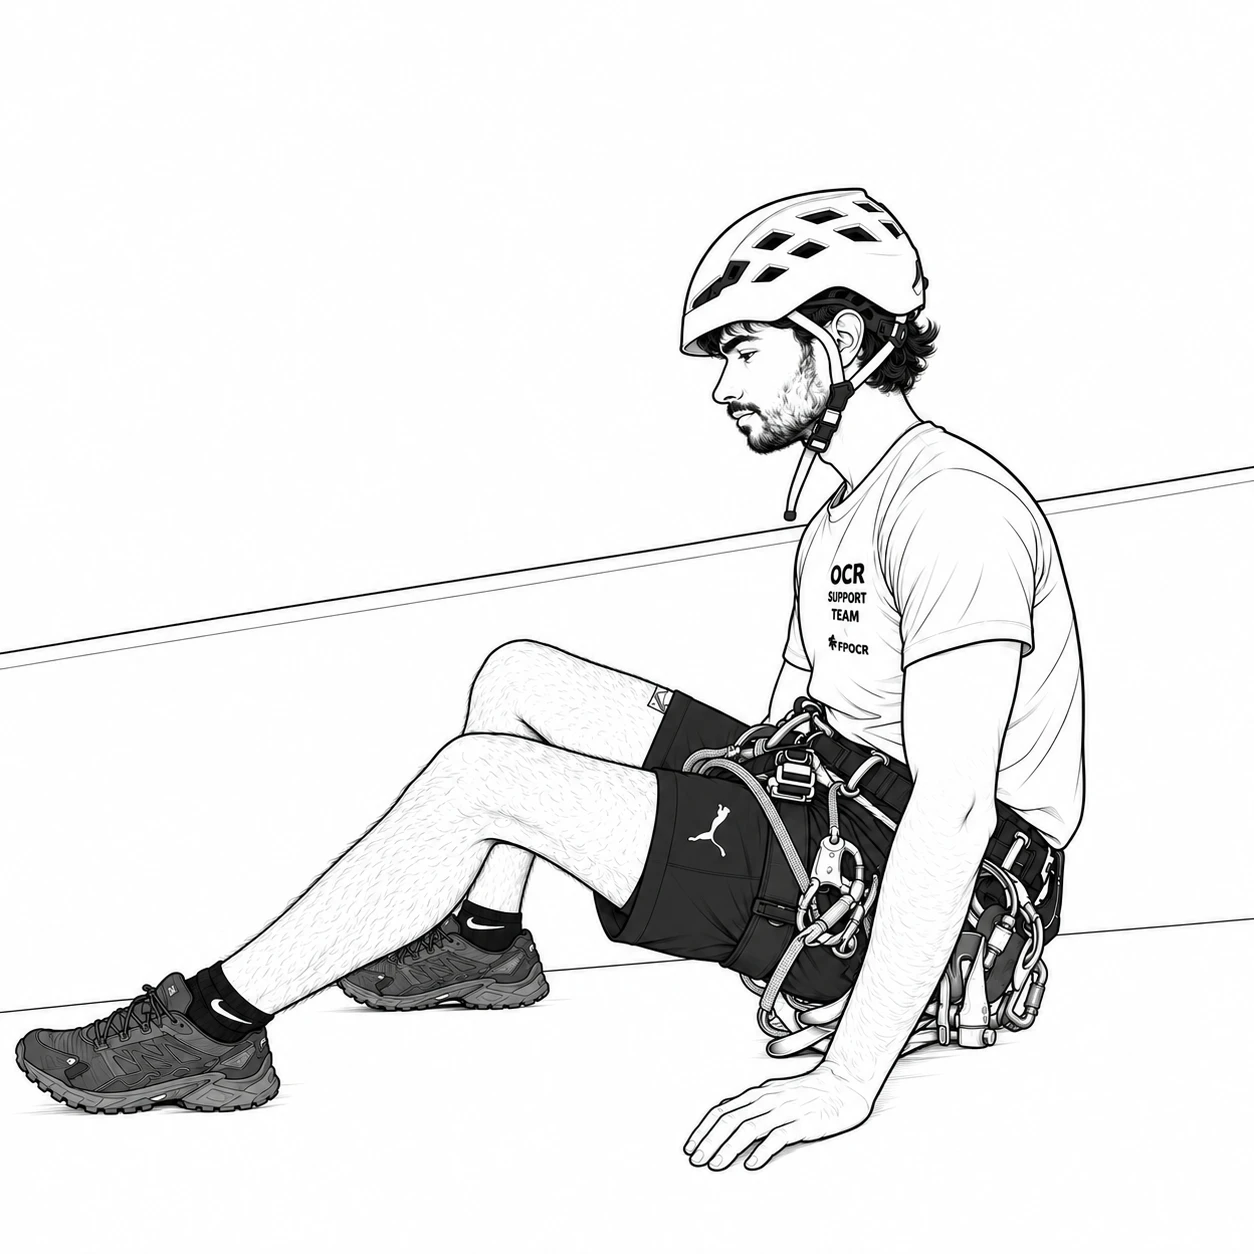
The harness has a seat protector, so on the hardest bits you can sit and slide down using hands, bottom and feet. We do this a lot.
Even if there's water there. We go through the water.
The water could be shallow, and shallow water is dangerous. Every jump gets its own briefing on the spot.
The higher you are, the worse a slip is. The lower we walk, the less chance of getting hurt.
Never in front, never off to one side. We pick the safest line; your own line can put you somewhere more technical.
The edges are the most slippery rock in the canyon. A curious look over the edge is how people fall.
Every time you come off a rope, we place you in the safest spot to wait. Stay there.
From the start to the finish. The helmet comes off at the car, not before.
On the rope, a guide controls the system. Your job is the abseil itself: hands, body position, small steps.
The carabiner and the figure of eight are ours to handle. If we leave it open, we're getting it ready for the next section. Fiddle with it and you could lose it.
Hold the rope below the system, the safety side: right hand at your hip, left hand just under the figure of eight. Both hands are brakes.
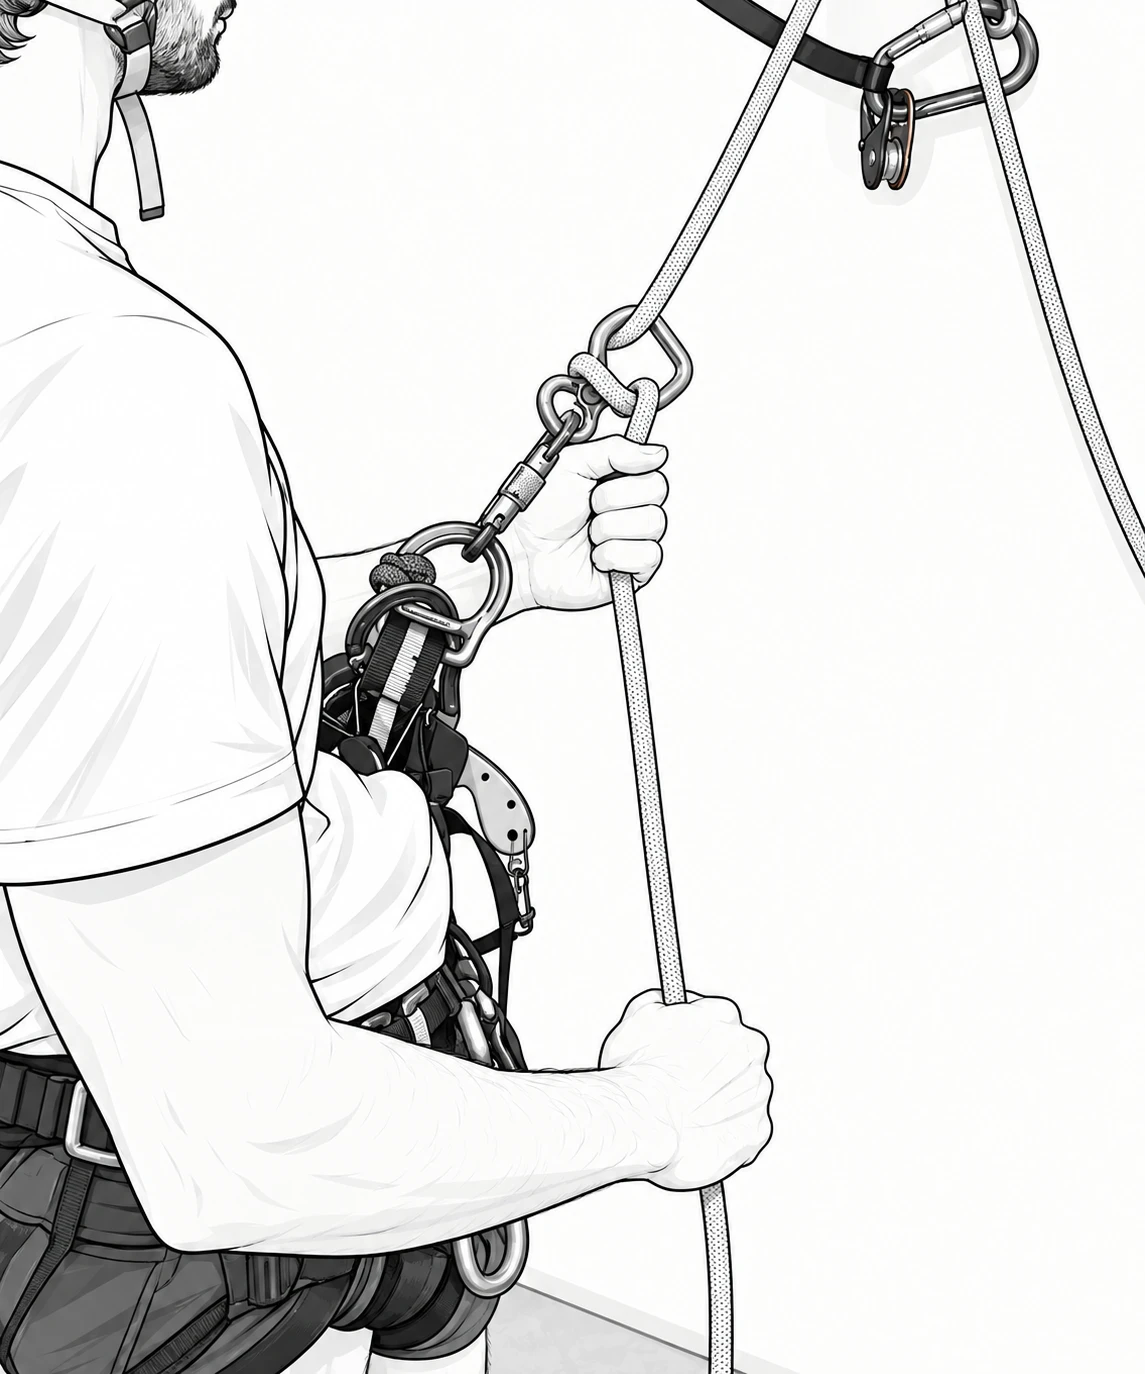
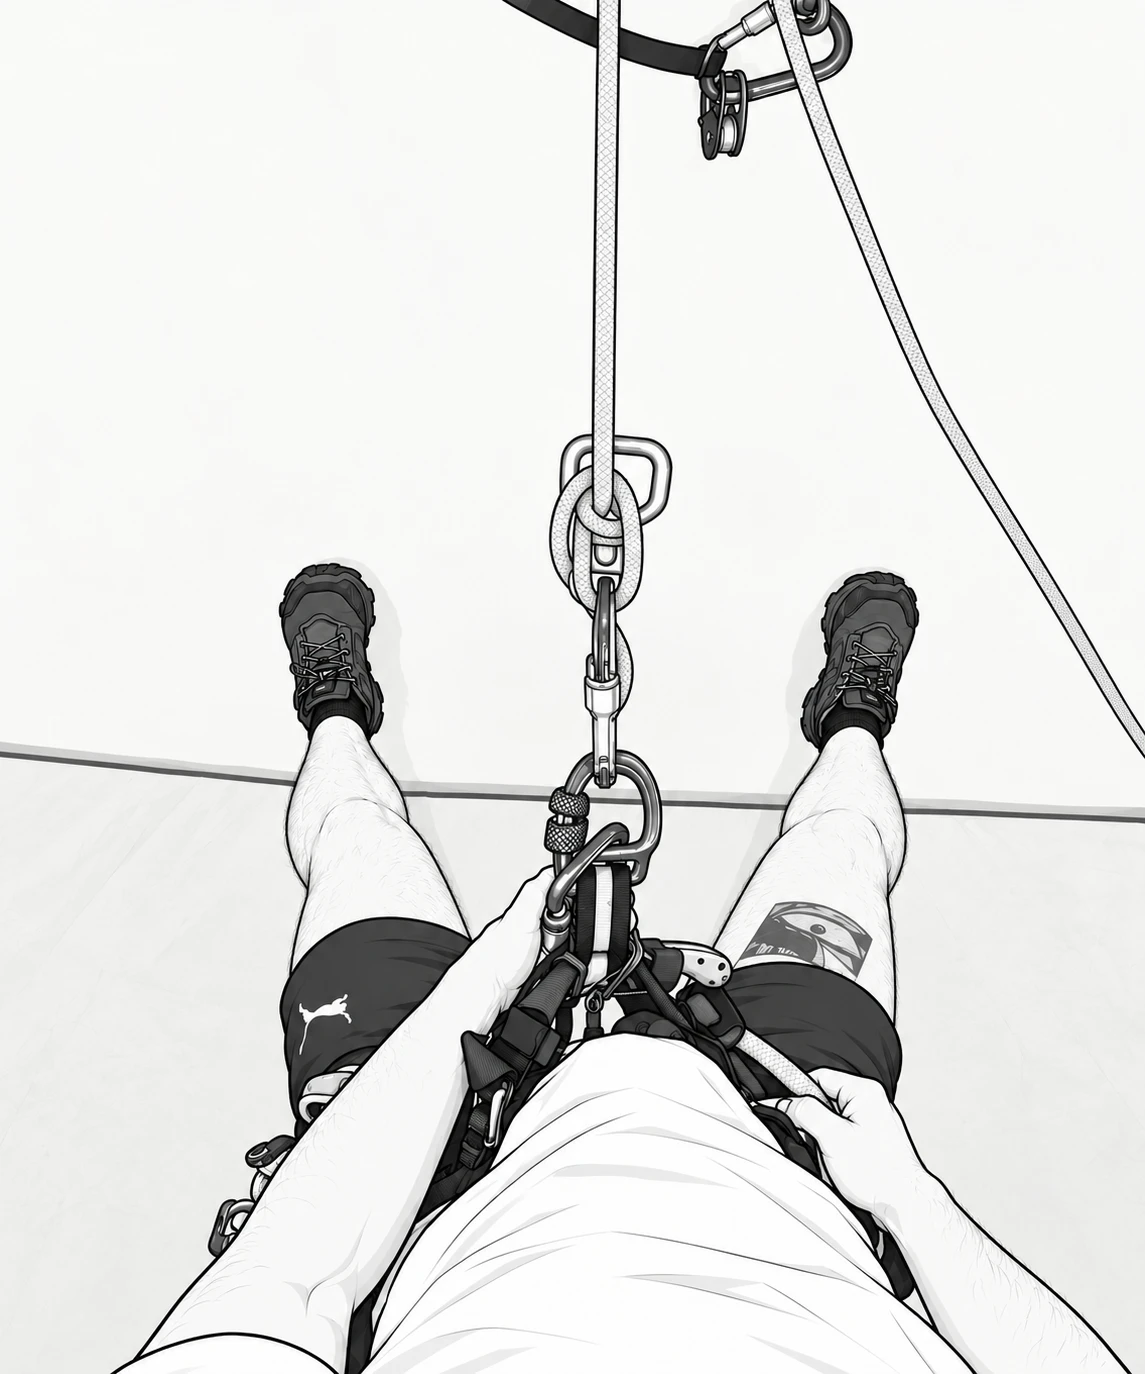
To go down, slide your hands up a little to let rope through, then back down to the brake position. Repeat all the way down.
Holding the rope takes very little strength. One hand is often enough, but always use two, and never let go of everything.
If someone does let go, a guide at the bottom is holding the rope (a fireman's belay). They pull it and you stop. It's not dangerous, but the rule stays: two hands on the brake side, always.
Feet apart in a V, legs firm like you're walking on the ground, never fully bent. Sit into the harness and lean back until your body is at about 45° to the wall.
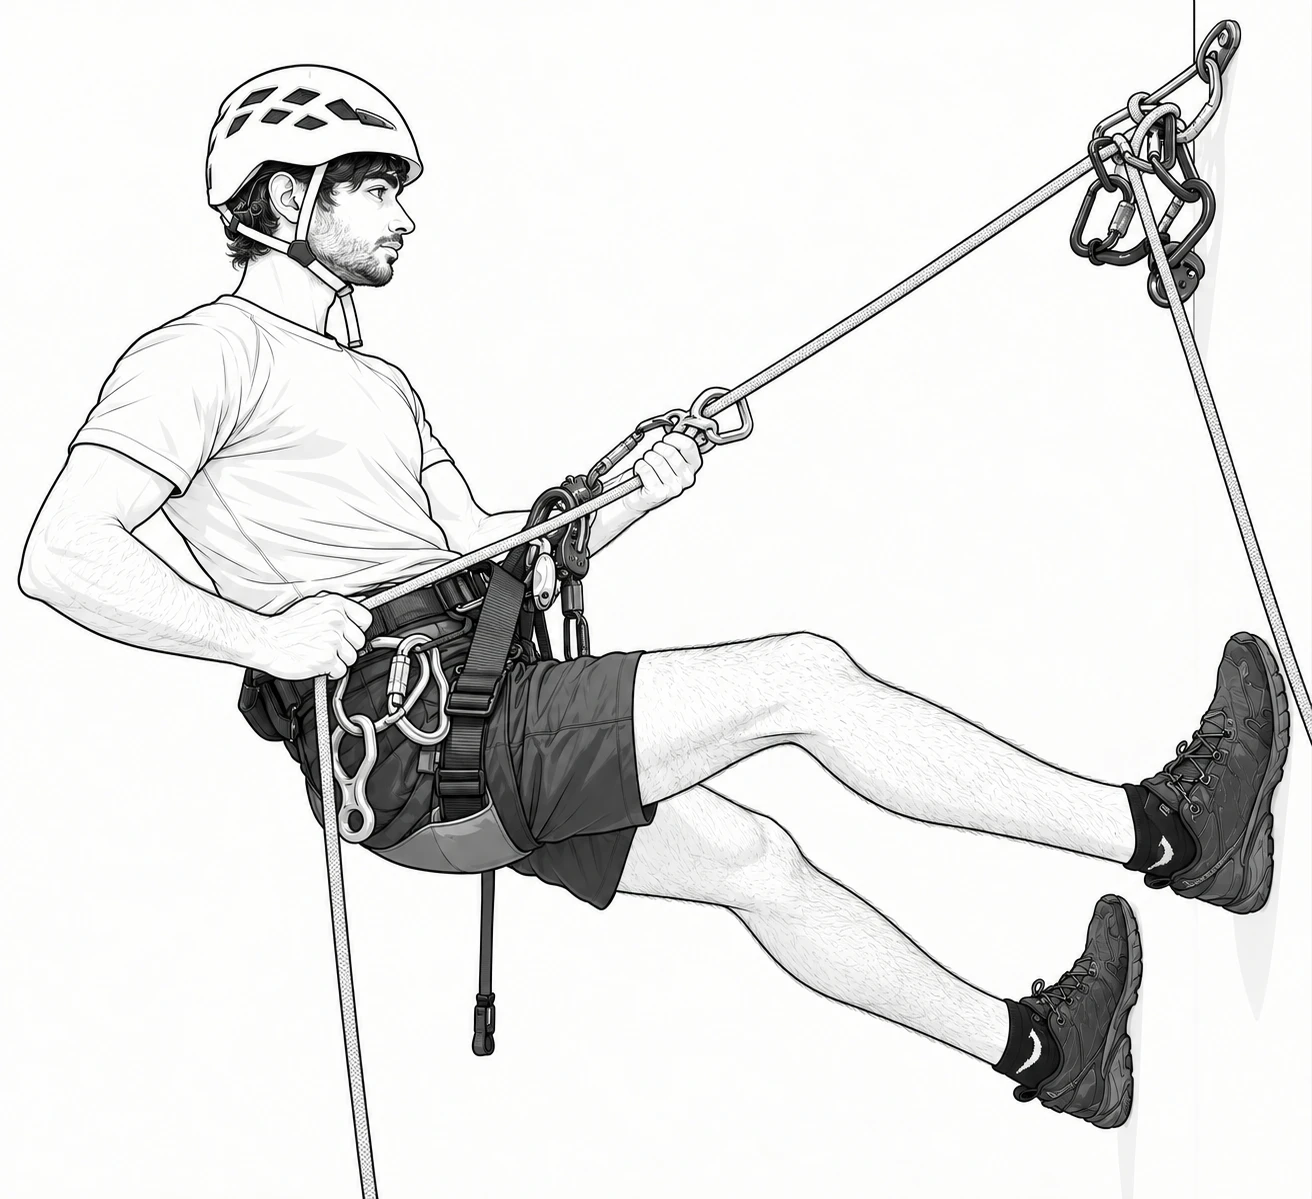
Walk backwards in small steps and give rope continuously, at a steady pace. It sounds harder than it is and it gets easier after the first few metres.
One big step and you lose the 45°, your body goes vertical and you slip forward. Every time.
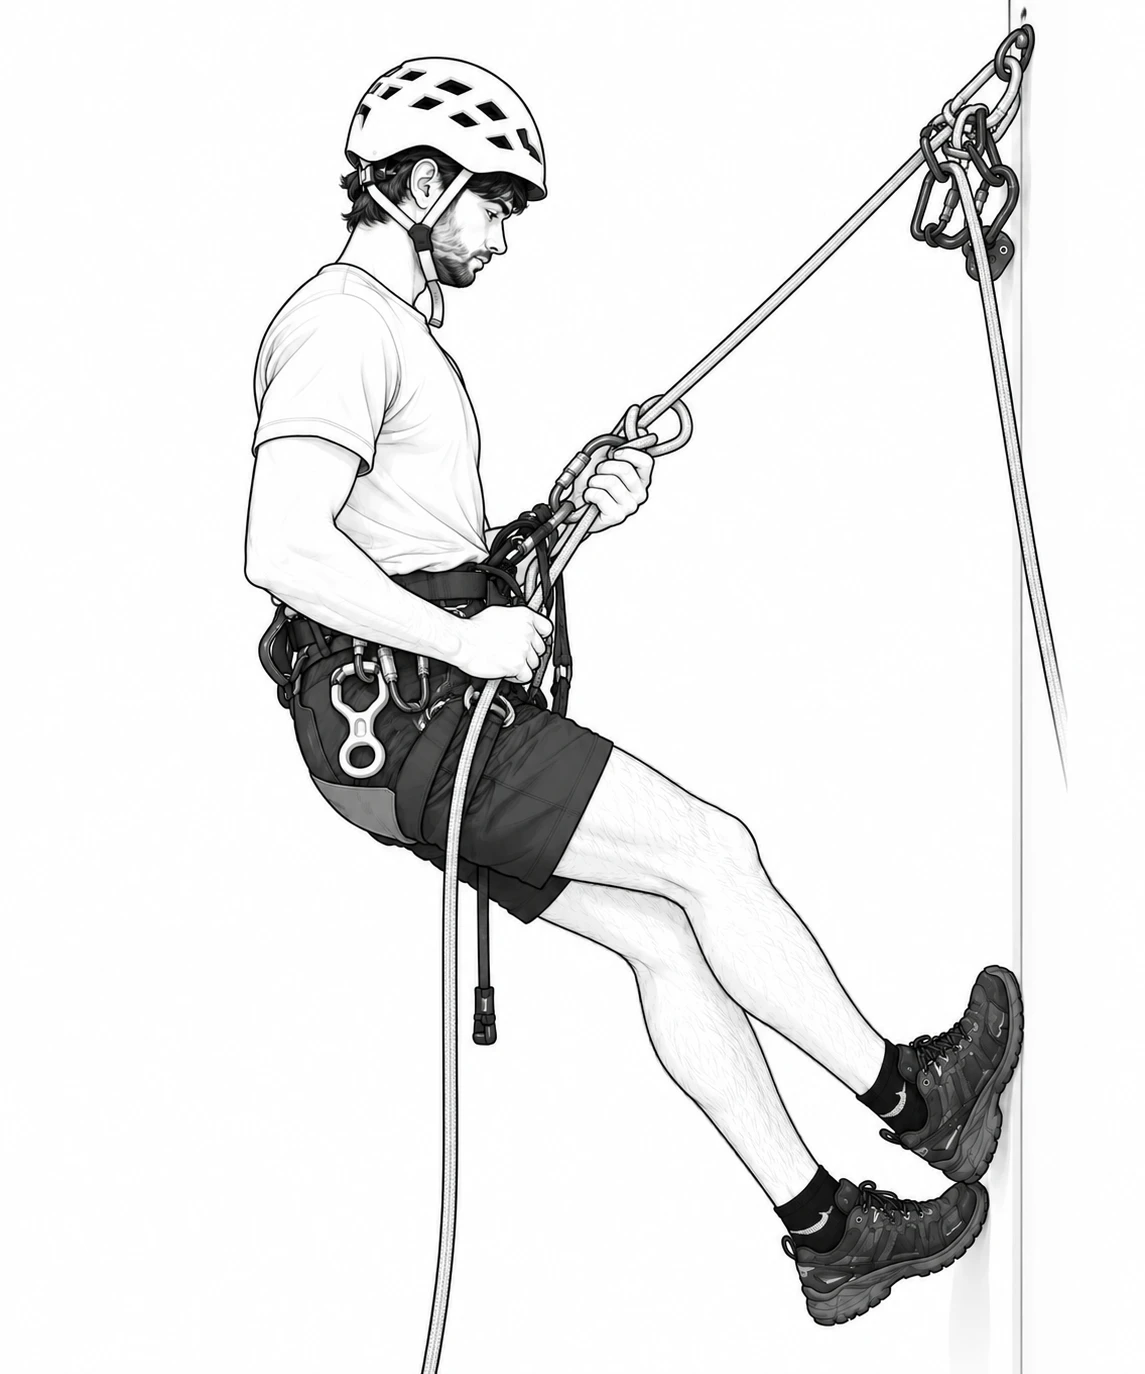
It happens and it's not a big deal. You can take one hand off the brake side to steady yourself on the wall. One hand only, never both.
If you end up hanging with your feet off the wall: both hands on the rope, feet back on the wall, back to 45°, hands back on the brake side. Then nod, or tap your fist on your helmet, and the guide at the bottom gives you rope to carry on.
Send us a WhatsApp. We might be mid-canyon, but we'll answer when we're out.
See you at the top. José and the team